The 2007 Window Frame Project
Revised in 2008
The Problem: How to get a clean straight lighting look around windows? With our Window Frame project, of course! This project consists of thin frames of wood that will be attached around the windows, and then plastic strips are added to the frames to hold the lights. While they don't look like much during the daytime, they do the job very well at night. We've even added two colors of lights to the frames so we can alternate the colors when animating the display.

First, we started out by taking measurements of all 8 areas on the front of the house where these frames need to go. Special calculations have to be made because it works best if strings of lights in groups of 50 or 100 lights can be used. The lights can't be cut beyond those two multiples, so if the spacing can be altered to fit strings of 50 or 100, then it's a perfect match.
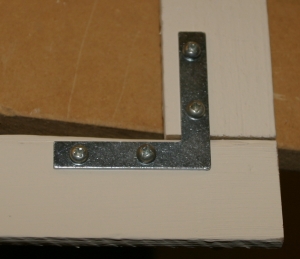
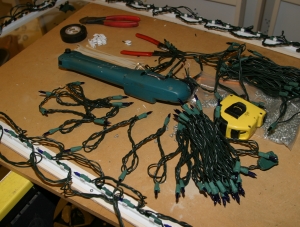
We start out with thin strips of redwood from the home center store, and cut them to length and paint them the same color as the house. Then we use the L-brackets as shown to attach the frame pieces together using screws.
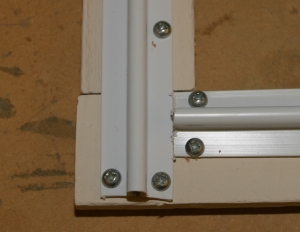
Once the frames are assembled, we attach special strips or rails on the front side called Lite Clip Strips. These strips come in 5 foot lengths and can be cut to fit and then stapled or screwed to the frame. You could attach them to the window frame itself, but we wanted them to be removable. So the white plastic strips are attached to the frames and then the lights are clipped to the frames.
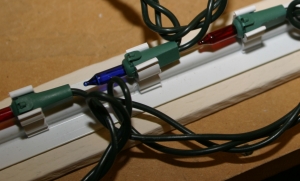
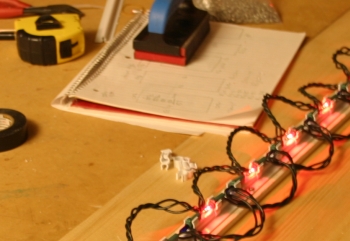
The Lite Clip Strip folks also sell clips that attach to each light on a mini-string. Then these clips attach to the strips as shown and are kept in a very straight line on the frames. As you can see, we used a two color arrangement so that the Light-o-Rama controllers power each string separately to create the effect of changing the color of the lights.
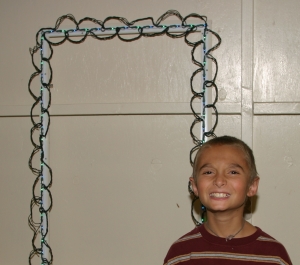
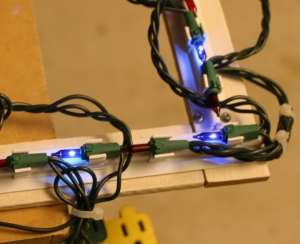
Here's a photo of a full frame being built and lit. It's a little bit of work to get the lights clipped up and attached to the strips, but the result is worth it. In the end, the lights are very straight and the spacing can be controlled as necessary to fit either 50 or 100 lights of each color on the frame.
Once the frame has the lights attached, we then test each string of lights to make sure that nothing happened during the process and that they all light up as they're supposed to. Sometimes the act of clipping and moving the lights around the frame can cause a loose bulb to slightly disconnect, etc. So we test the lights and fix any issues before we're up on the roof doing the installation.
After the bulb testing is completed, we dress up the wires by using tape and cable ties to reduce strain on the wires near the plugs and also to wrap any excess wire and/or bulbs. In the end, the Window Frames look very good. The lights turn out to be straight as can be, and all that has to be done is attach the frames to the house and plug them in!